There is nothing satisfying than roasting your coffee at home for coffee lovers. Drinking your very own homemade cup of coffee from beans you’ve roasted is worth every struggle. Home-roasted coffee beans tend to have flavor complexities and are fresher. Just as the different taste of coffee, there are several ways to roast them. It all depends on the steps you follow and the equipment you have at home. Let’s look at how to roast coffee beans at home.
As you know, there are many volumes and origins of coffee. There are also many significant aspects of making coffee, but it all starts with how you roast your beans. Let us focus on the steps of roasting coffee at home. How exactly do you roast coffee beans at home?
How to roast coffee beans at home
To make the process much simpler, you need to know some basics. You need to know the supplies you need, the amount of coffee to roast, and when to stop. Technically, roasting coffee is not about putting an amount in the oven and coffee machine, and roasting, it requires more knowledge. So let’s start.
Let the machine run to a full cycle, dispose of the water, rinse again and the machine is ready.
The supplies you need
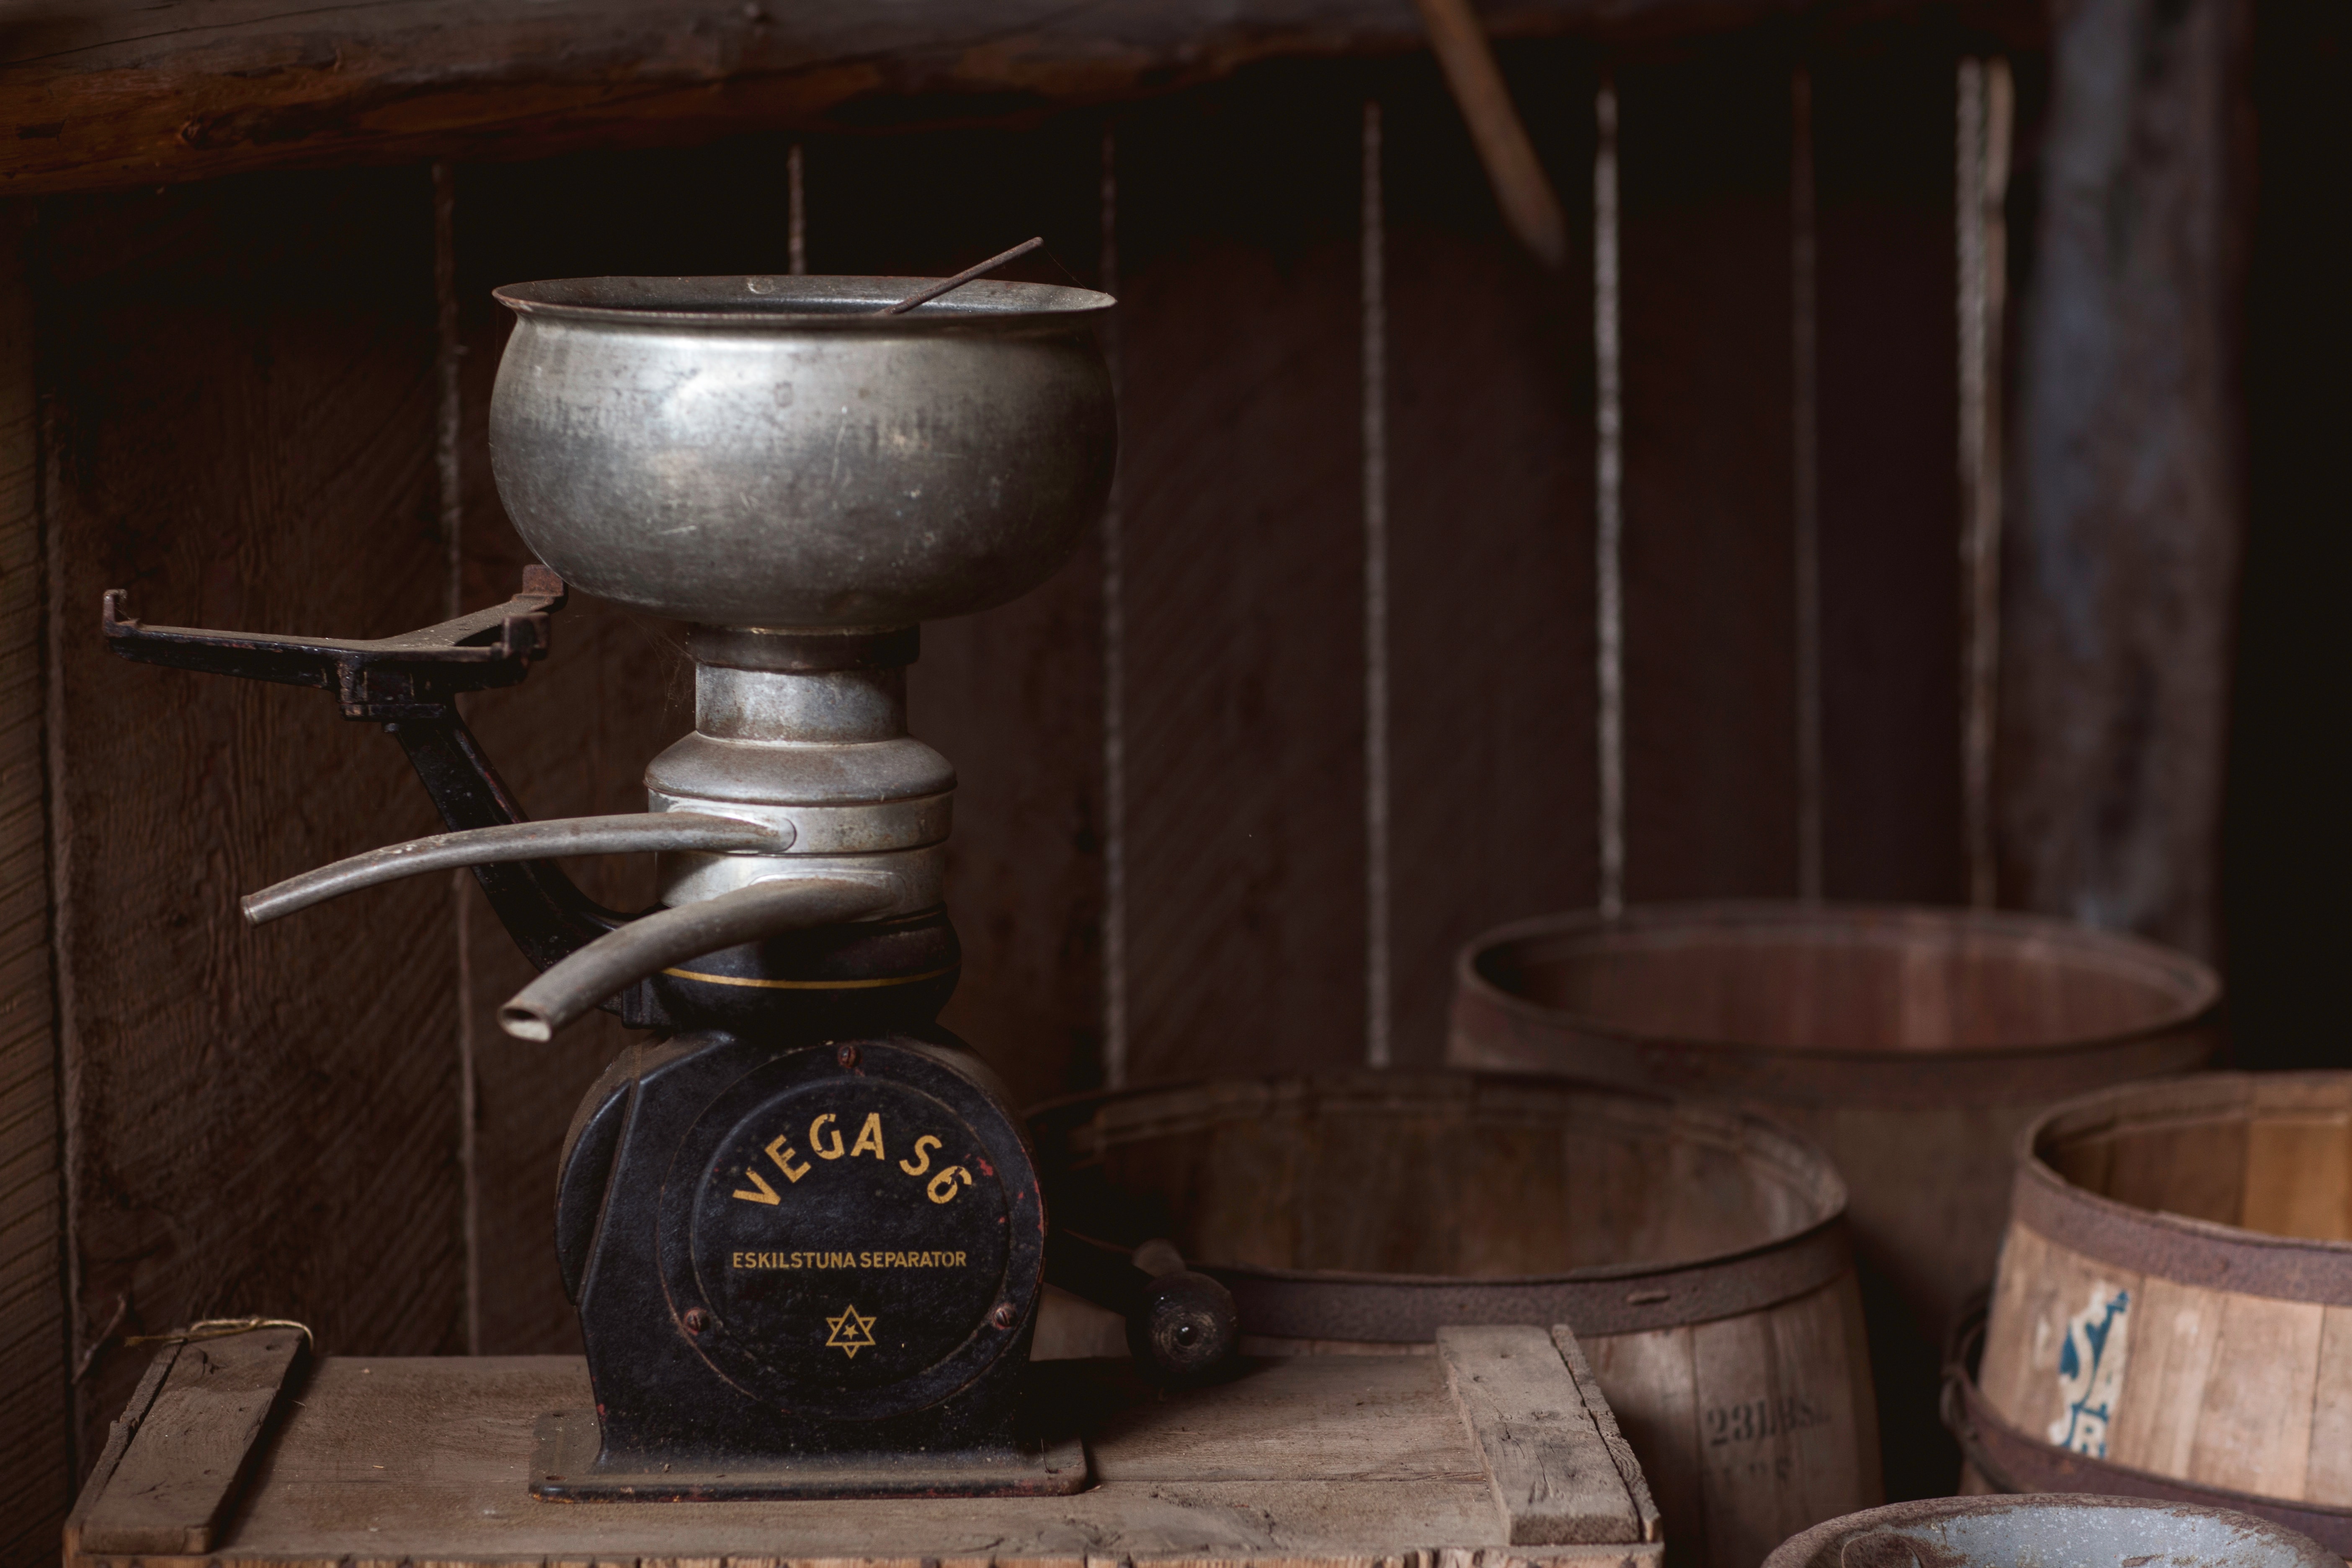
You don’t need many supplies when roasting at home. You can use their coffee roasting machine, but if you don’t have that luxury, there are other supplies you can use. Some of them are:
- A gas or charcoal grill or a propane-powered stove
- Stainless steel popcorn popper, or a decent roasting bowl
- Others may use an oven, or an air roaster as an alternative to the grill or stove
- A baking sheet to cover the beans
- Green coffee beans
Start to roast
There are different ways you can roast coffee at home. We are going to cover some of them step by step. This way, you can decide the method to use.
Method 1: Roast using the popcorn popper
In the situation where you are using the grill or stove, try using the popcorn popper is the best way. To start, you need to:
Step 1: Turn off the stove and place an empty popcorn popper on top
Once you place the popper on top of the heating stove, bring it to medium heat. Before you pour the beans inside, make sure the equipment is clean to avoid spoiling its original flavor.
Step2: add the beans
Add the beans and close the lid before turning the crank handle. As the beans roast, continue stirring them constantly to allow their beans to roast evenly.
Step 3: Listen for any cranking noise
Once the beans start to roast, listen if there is any crackling sound. The first sound you hear means them the beginning to roast. The bean will also start smelling, the coffee scent. You can decide where you want them that way or continue roasting some more.
Method 2: Using the oven
The oven is also a preferred way of roasting coffee beans. However, you need to know that this method can lead to an uneven roast. That’s mean you need to be extra careful to produce the best results.
Step 1
Preheat the oven: ensure your oven is preheated to 2320c or 4500F. Once the oven is ready place a baking sheet with small slots or holes and a lip. You can also use a new pan if you don’t want to use a baking sheet.
Step 2
Lay the bean on the pan or sheet: pour your bean and spread them close together in the pan. Once you are ready, Place the pan or baking sheet on the middle rack and leave it for 15 to 20 minutes.
Step 3
Remove them: when the minutes elapse, remove your roasted beans and let them cool. Pour them in a metal container and stir as you remove the chaff and your beans are ready.
Method 3: using a store or grill and a roasting bowl
The roasting bowl method is the most common method of roasting coffee beans at home. It is also the method that gives you the evenest results. Here are the steps
Step 1
Turn on the stove and place your roasting bowl on top: a decent roasting bowl probably the stainless steel will do the trick. To start with, make sure you get the right size and shape.
Step 2
Pour your beans: Once the surface is hot enough, pour your coffee beans, and spread them everywhere in the bowl. Keep stirring for them to roast evenly.
Step 3:
Cooling: The cooling process is simple. All you need to do is remove from the bowl for fire and let the beans cool by themselves.
How do you know when the coffee beans are ready?
To know when the coffee beans are ready depends on you and the method you use. For example, the oven method is a little hard because you can’t stir the beans. However, when using the roasting bowl and stove method, there are different ways to know when they are ready. Here is how to know.
The first crack: the first crack is the sound the beans give when they to be ready. The cracking sound is of beans as they expel moisture. If you want light roast, you can stop at this point.
The second crack: For those who want to roast a little bit more, they can wait for the second crack. The second crack sound often occurs once the bean’s cellular structure cracks apart. The second crack is the medium or dark roast. At this point, the beans get darker than the first crack. You can stop here and continue to extra dark roast. But you don’t need to do that, because the beans can catch fire.
Coffee beans are the coffee seeds that you normally buy in the stores near you. Once the coffee plant matures, it has seeds which tend to be purple or red. The cherries are harvested and dried. It takes something like 2,000 beans and has a single pound of coffee.